Lost & FoundryFoundry supplies, castings and education
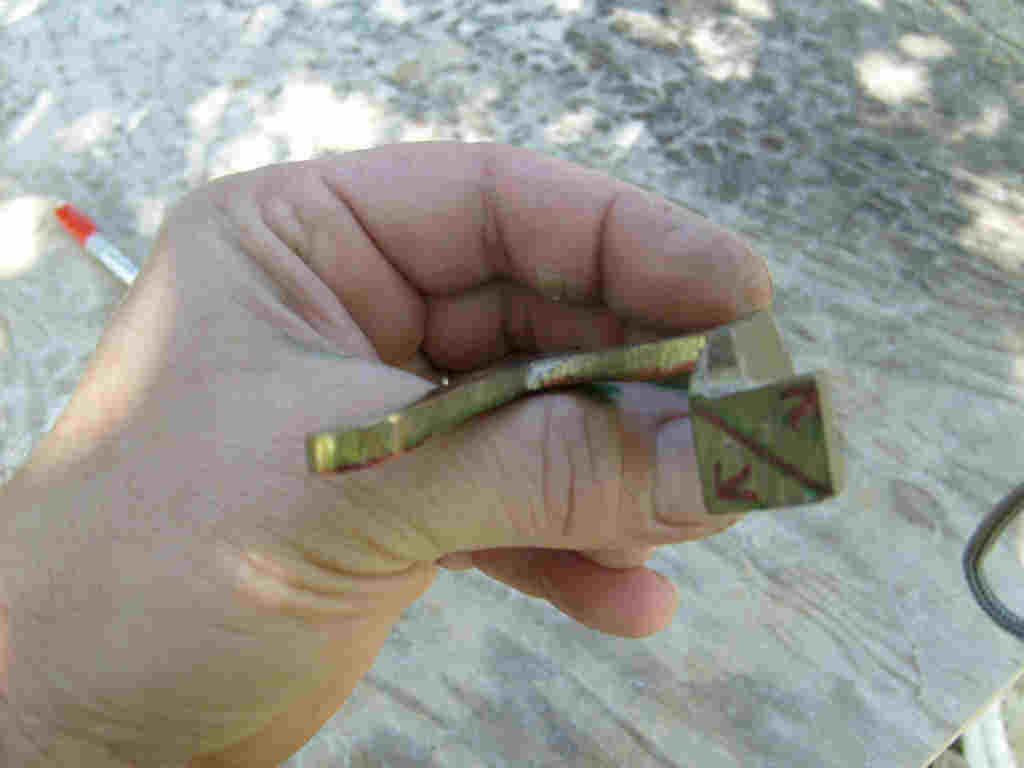
Tattoo Frame
Posted on by
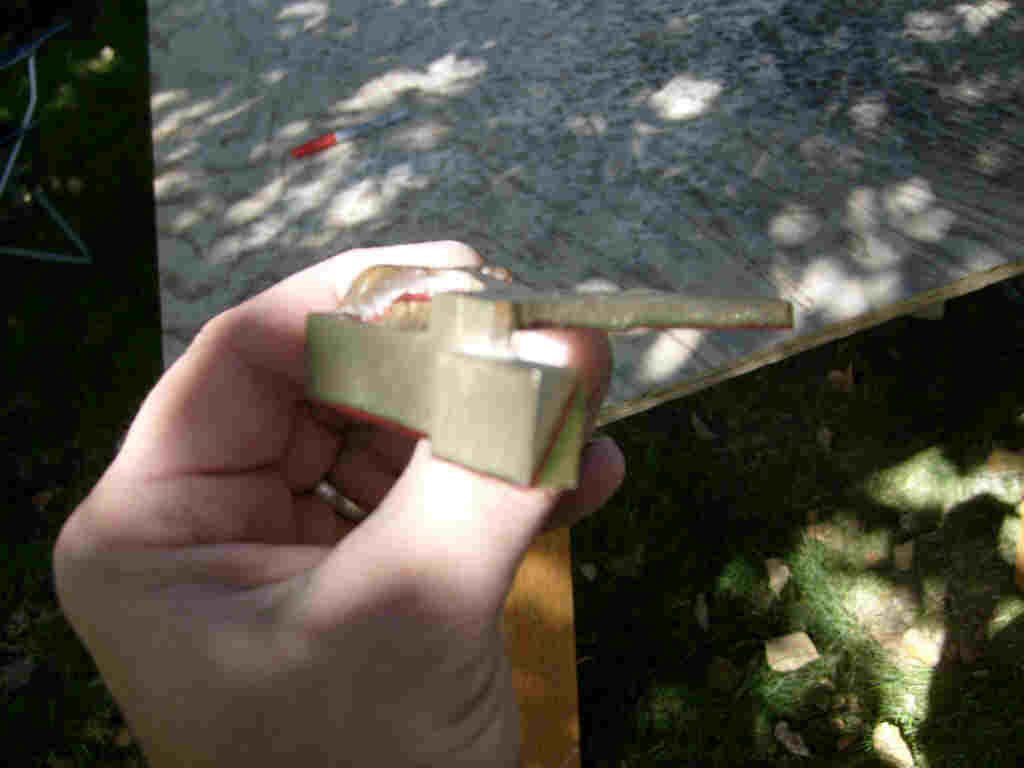
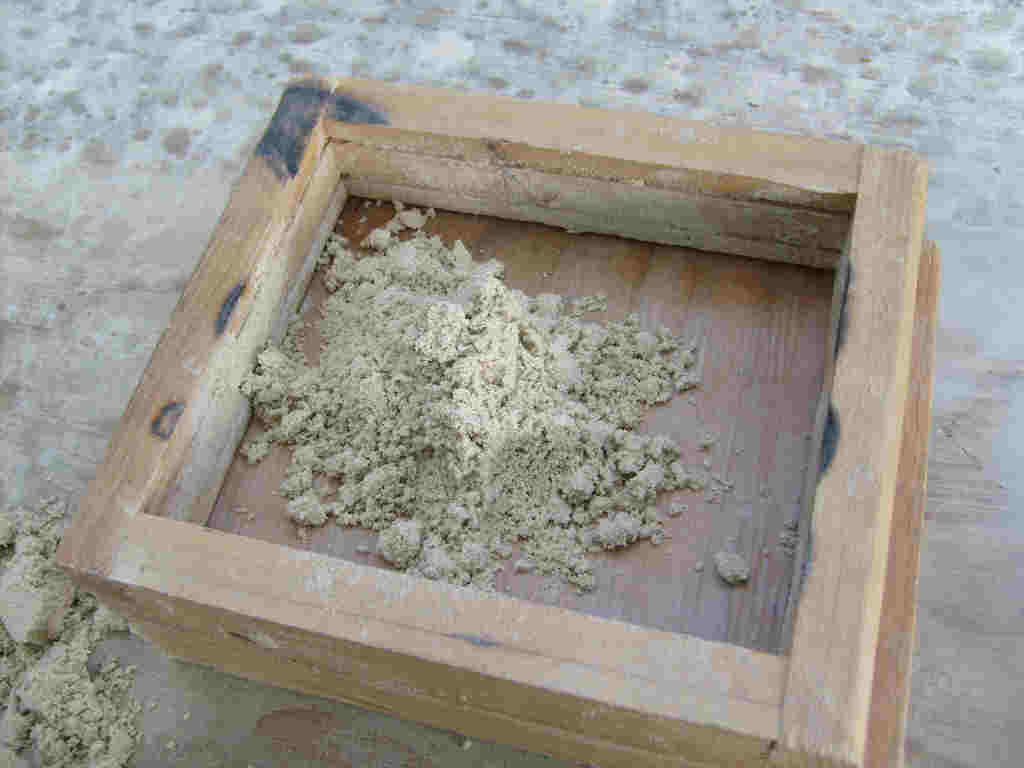
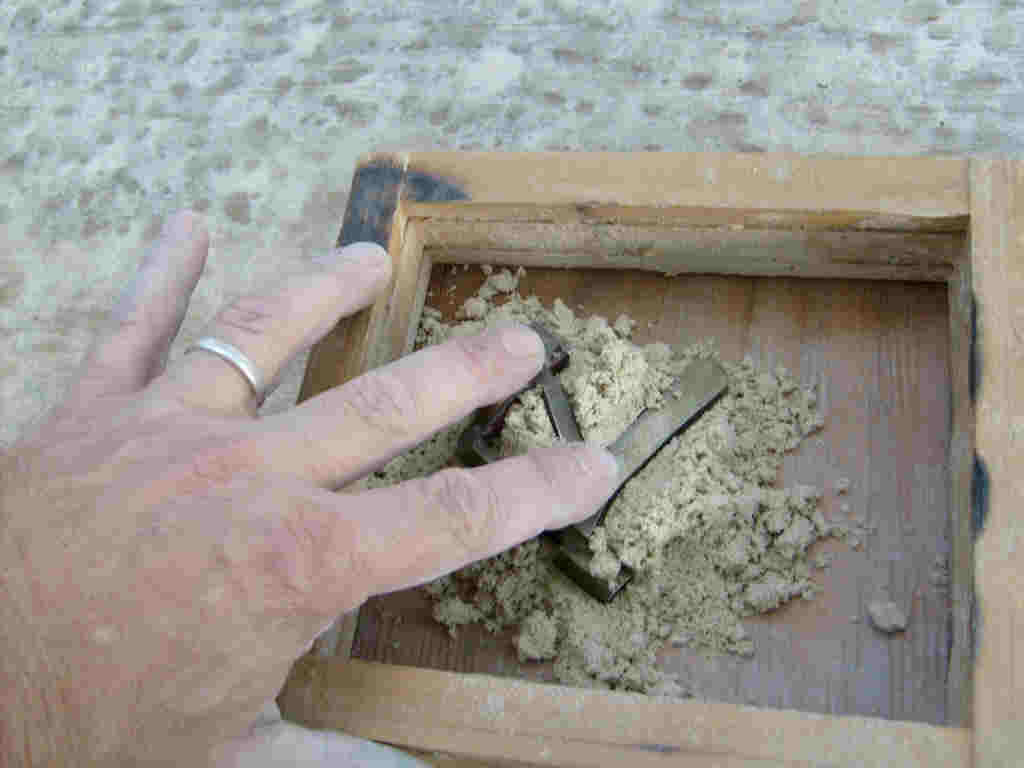
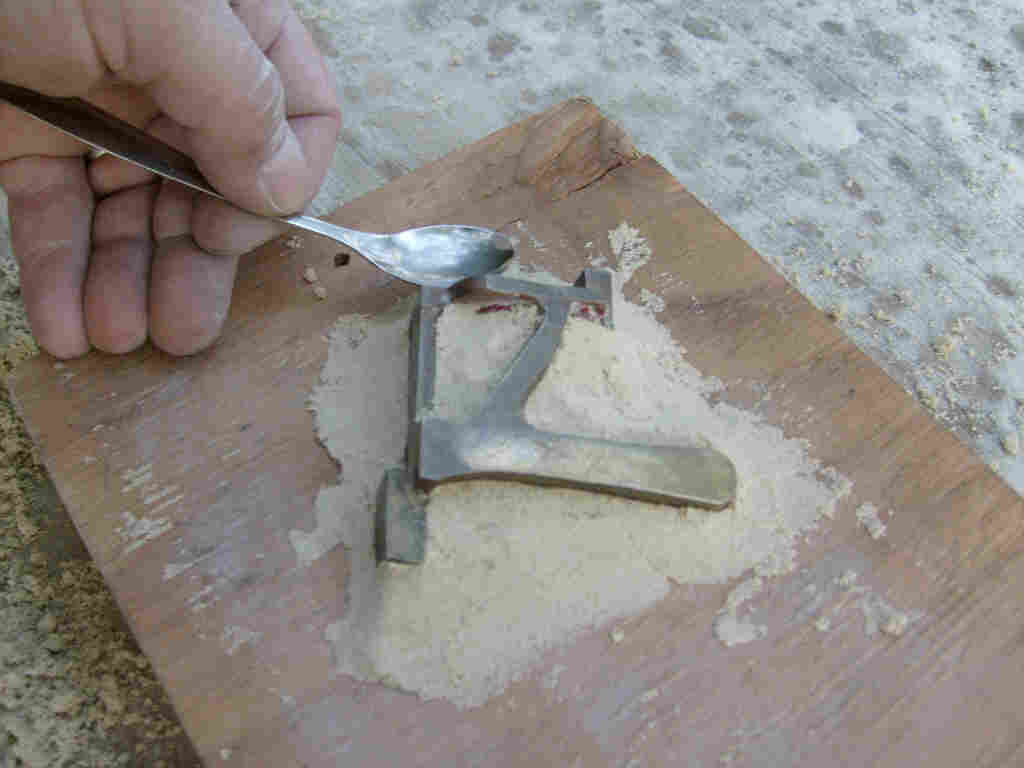
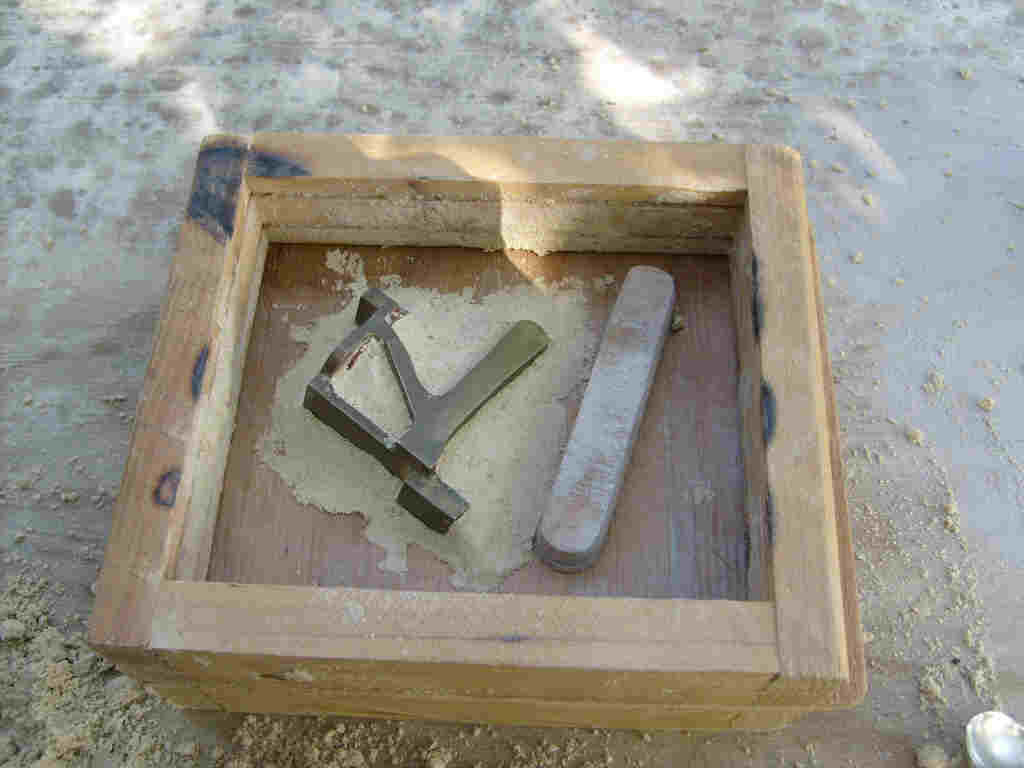
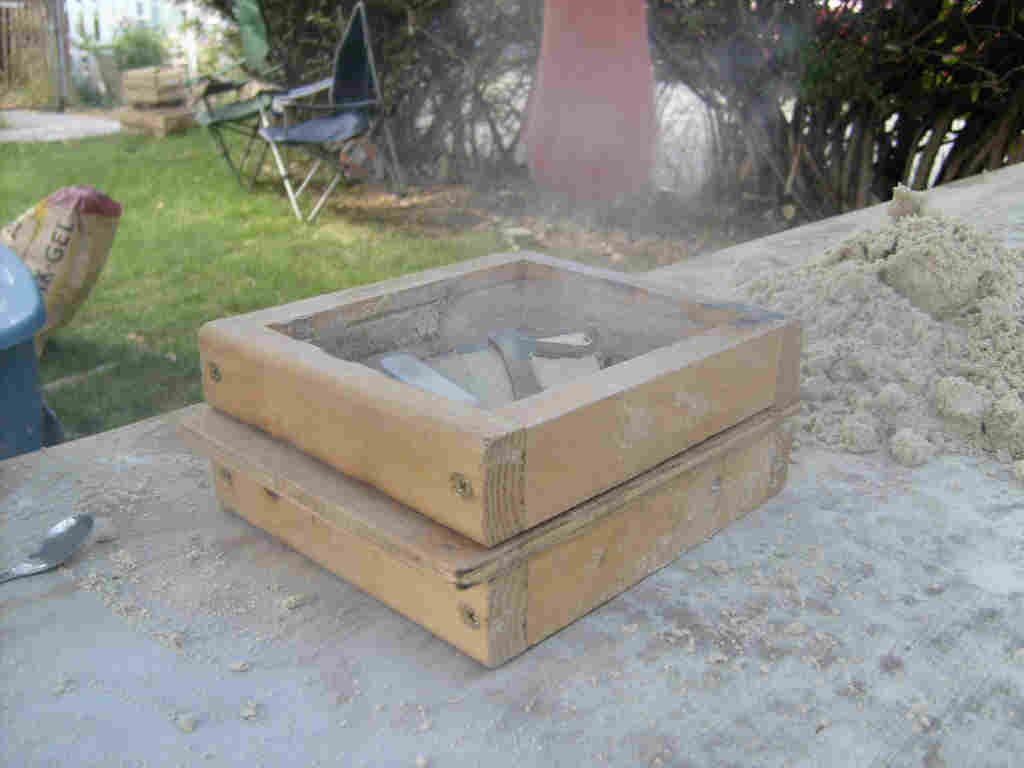
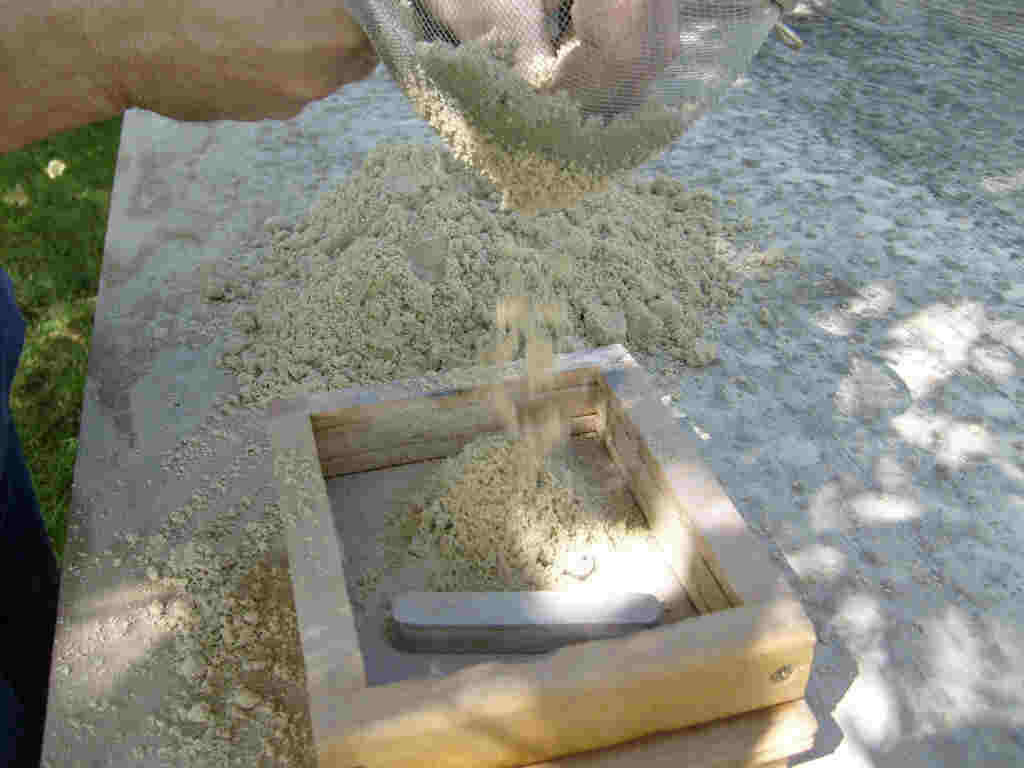
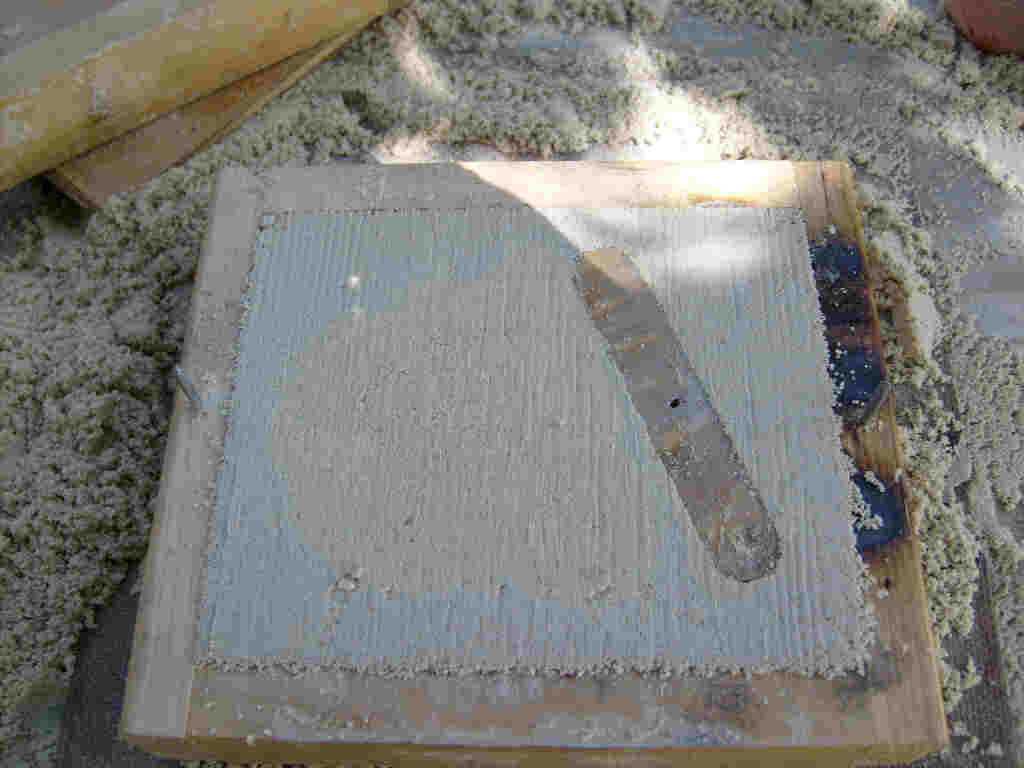
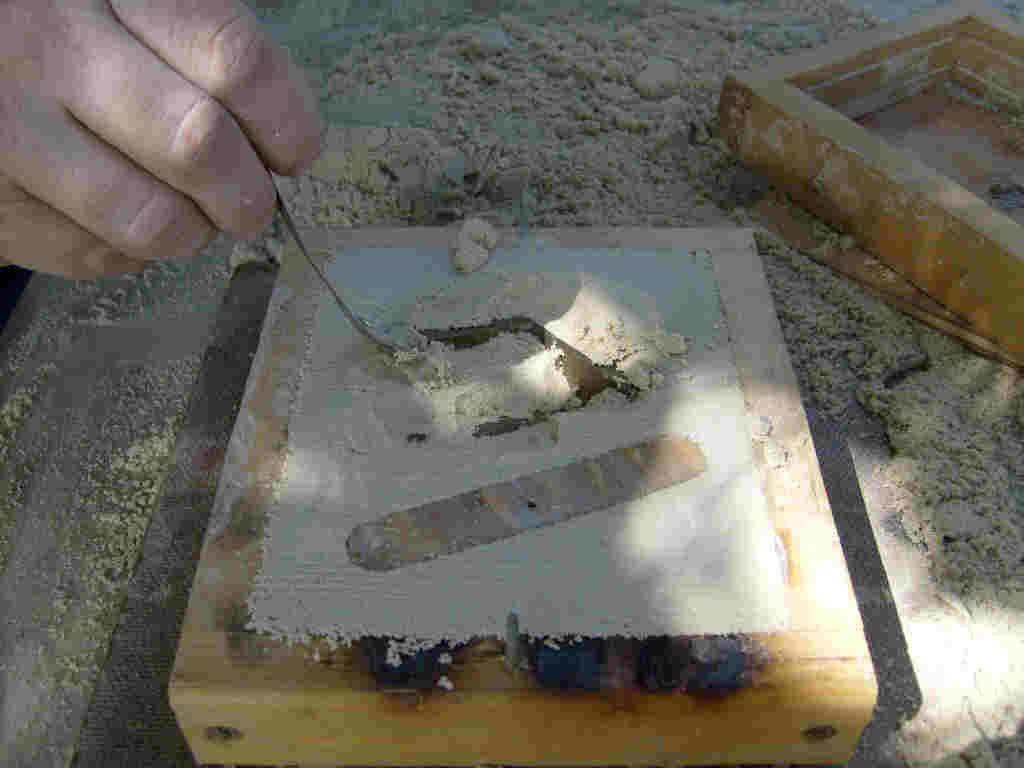
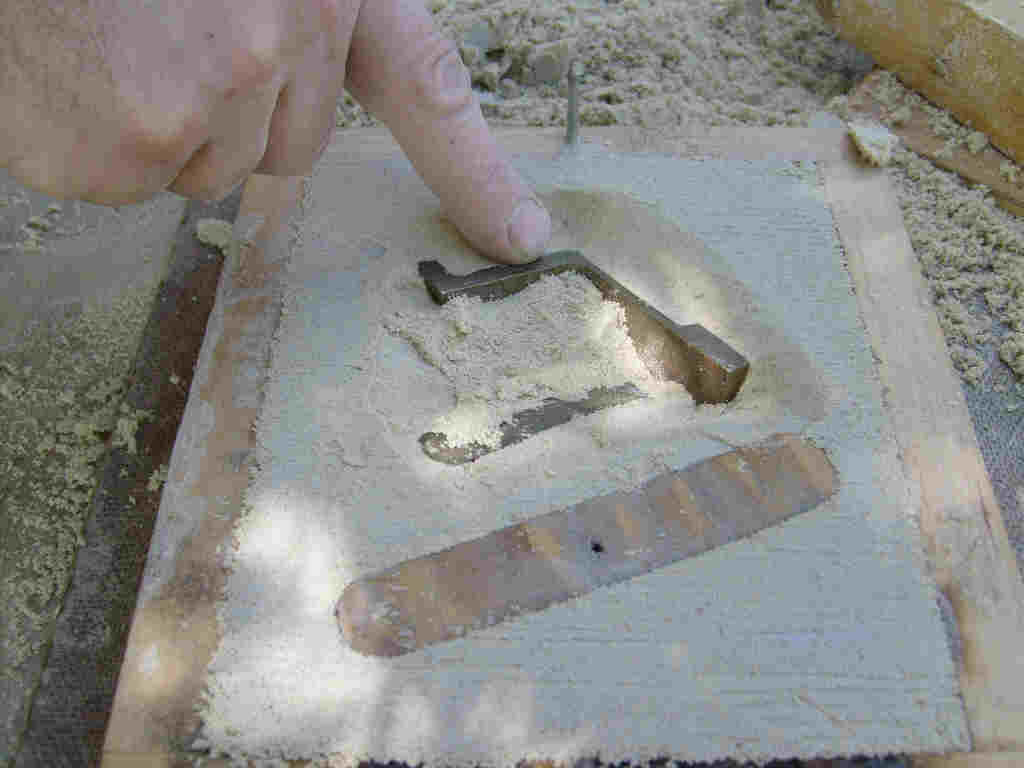
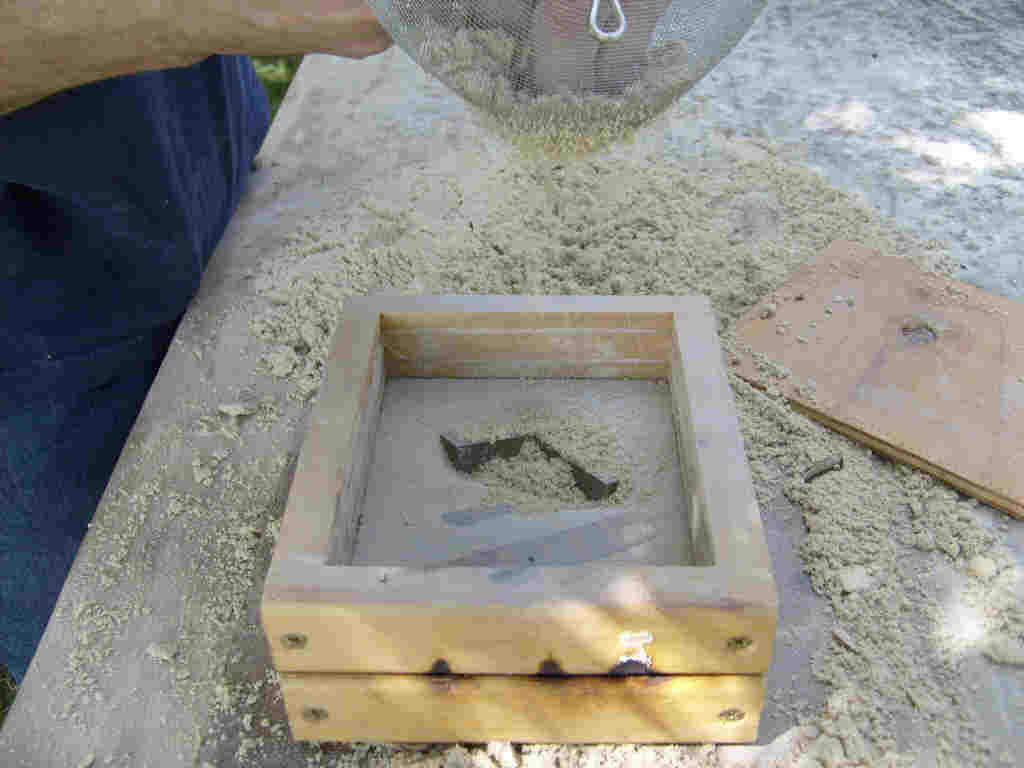
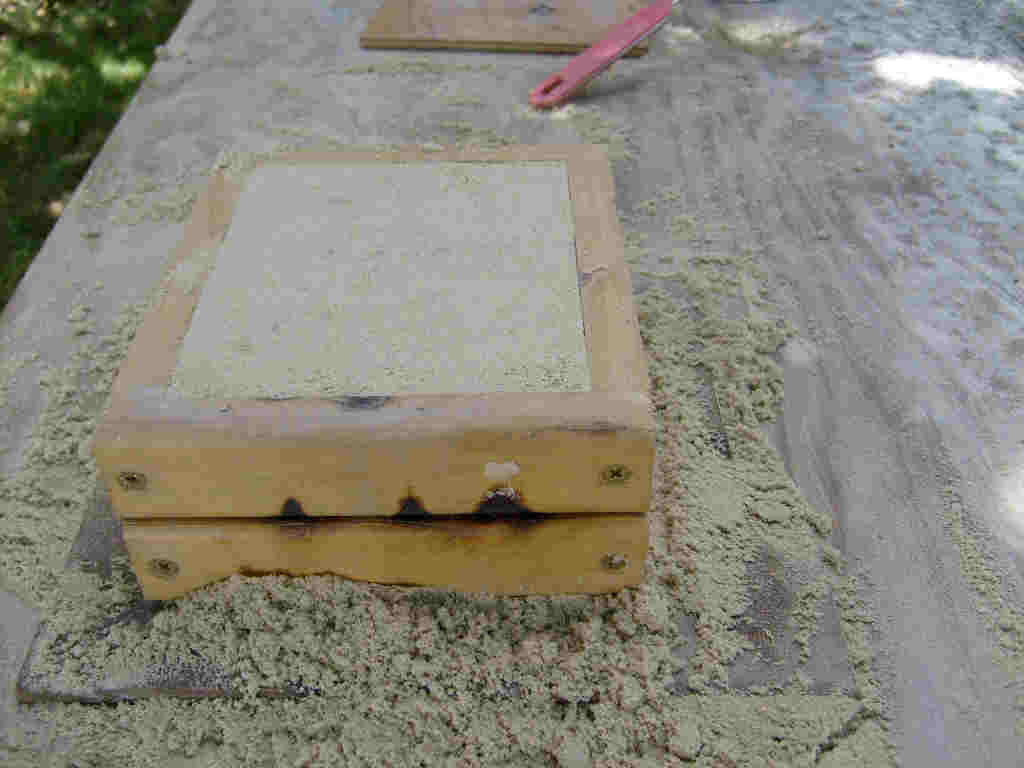
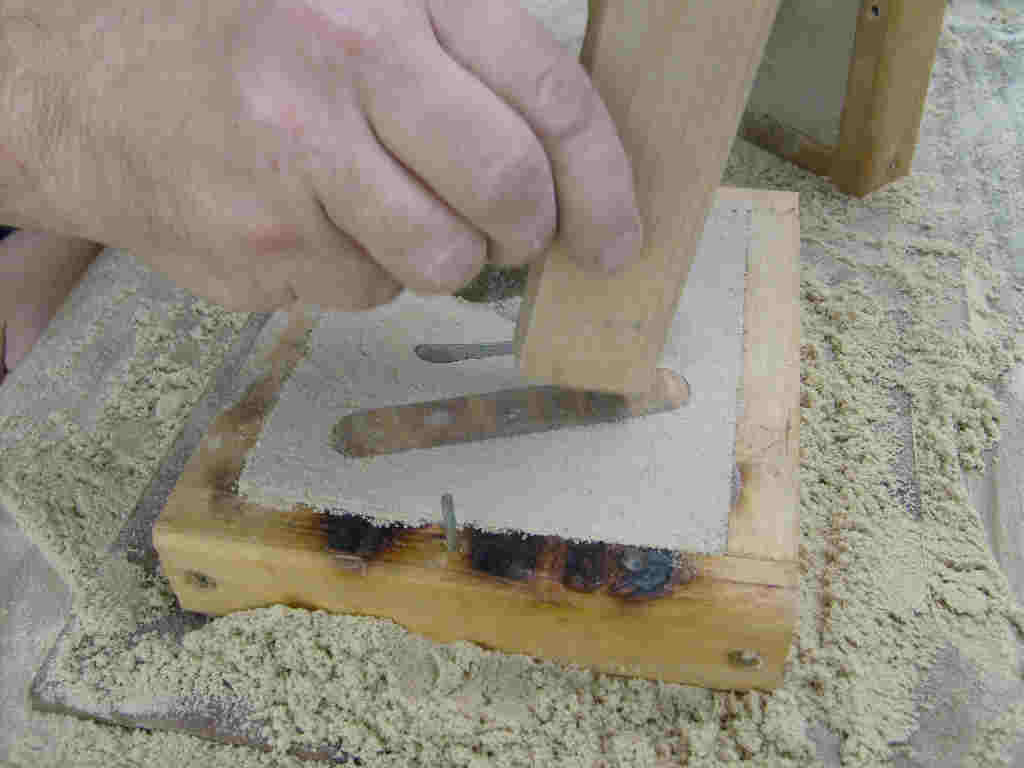
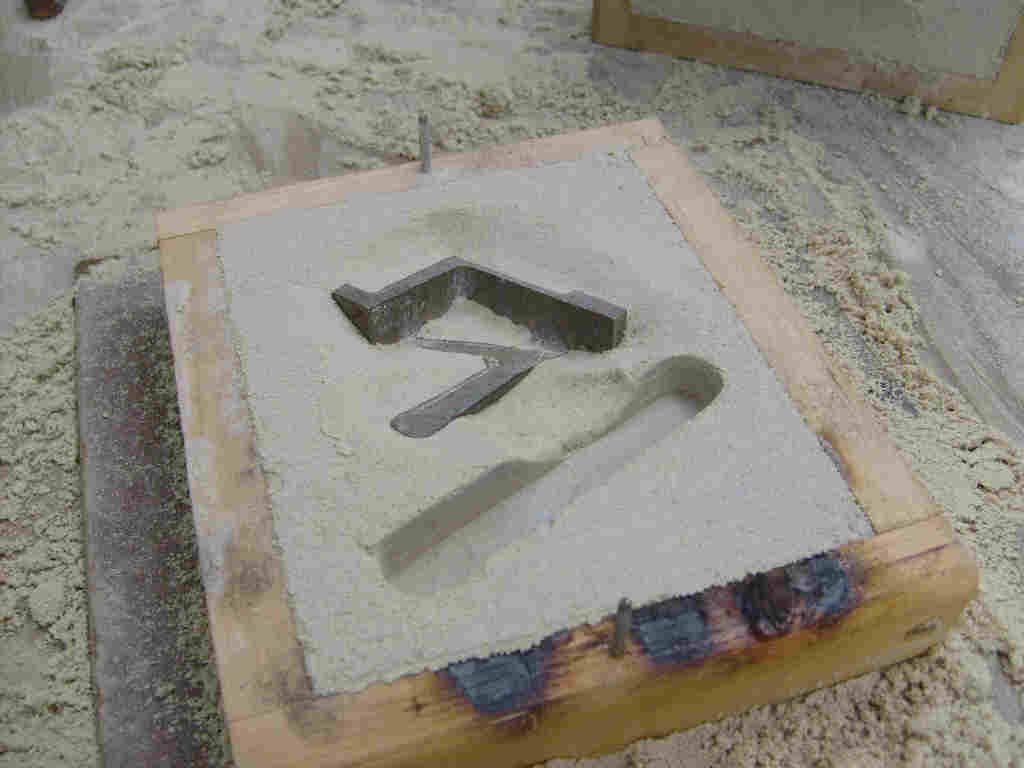
Determine where the parting line will be, marked with a red line.The pattern needs to sit at a slight angle, with 3 sides touching. First throw a handful of loose sand on the pattern board.Press the pattern into the sand so the 3 sides touch the pattern board. Remove the flask section for easy access. 1. Pack sand under the pattern with your fingers. 2. Smooth with molding spoon and fingers. Remember not to rub with your finger, press and release to smooth rough areas. This mound of sand is called an “upset”. Replace drag section of flask and place runner bar pattern next to the tattoo pattern. The runner bar allows metal to flow vertically in the mold. Apply parting dust to pattern and sand upset. Parting dust is a hydrophobic material (it repels moisture). 1.Cover the pattern with sand through the riddle (sieve). Do not fill the flask with riddled sand, only enough to cover the pattern. 2.Fill flask with sand and ram tight. Strike sand level, place bottom board and flip. Remove pattern board. Notice the outline of parting dust around the upset. This is the area we must dig out. Dig slowly to the parting line with a molding spoon. If you dig too far down, repack and smooth the sand in that area. Smooth sand with your finger or spoon. Pushing the sand flat. No rubbing! Your fingerprint will act as a file.This is the drag (bottom) section of the mold.
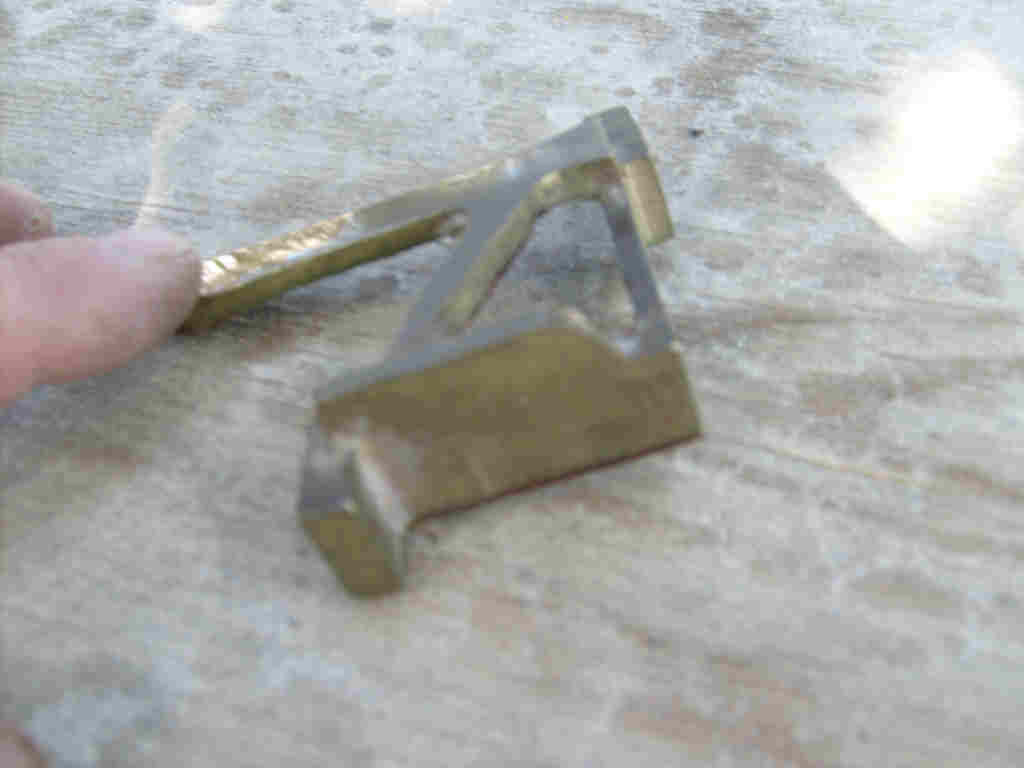
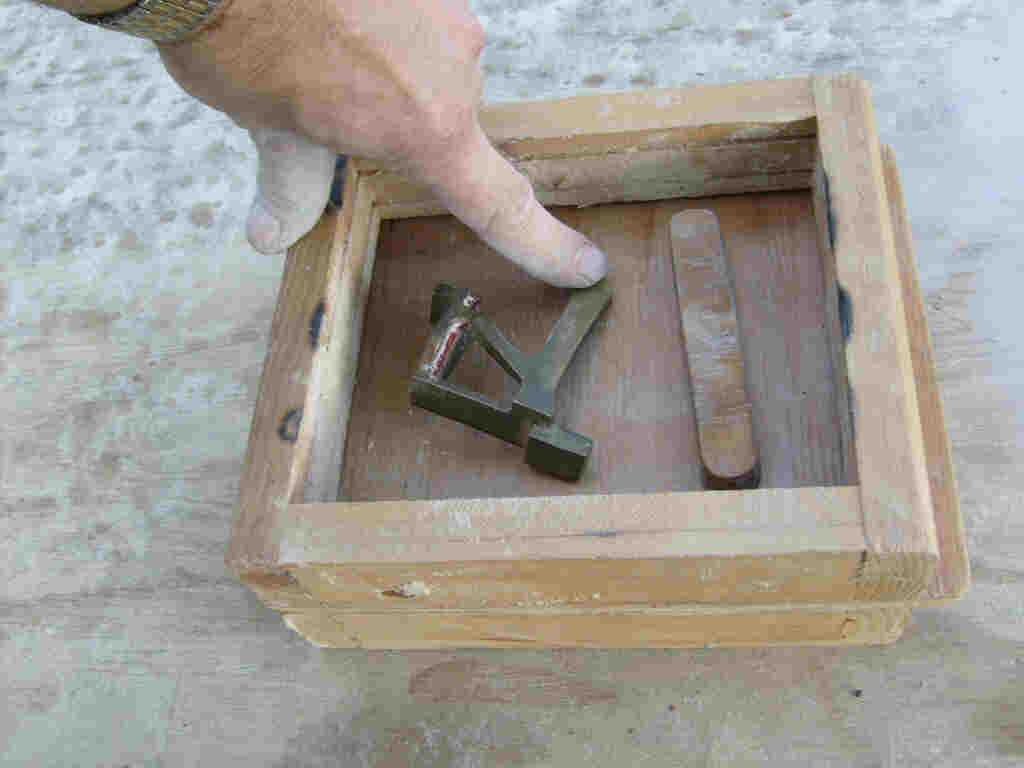
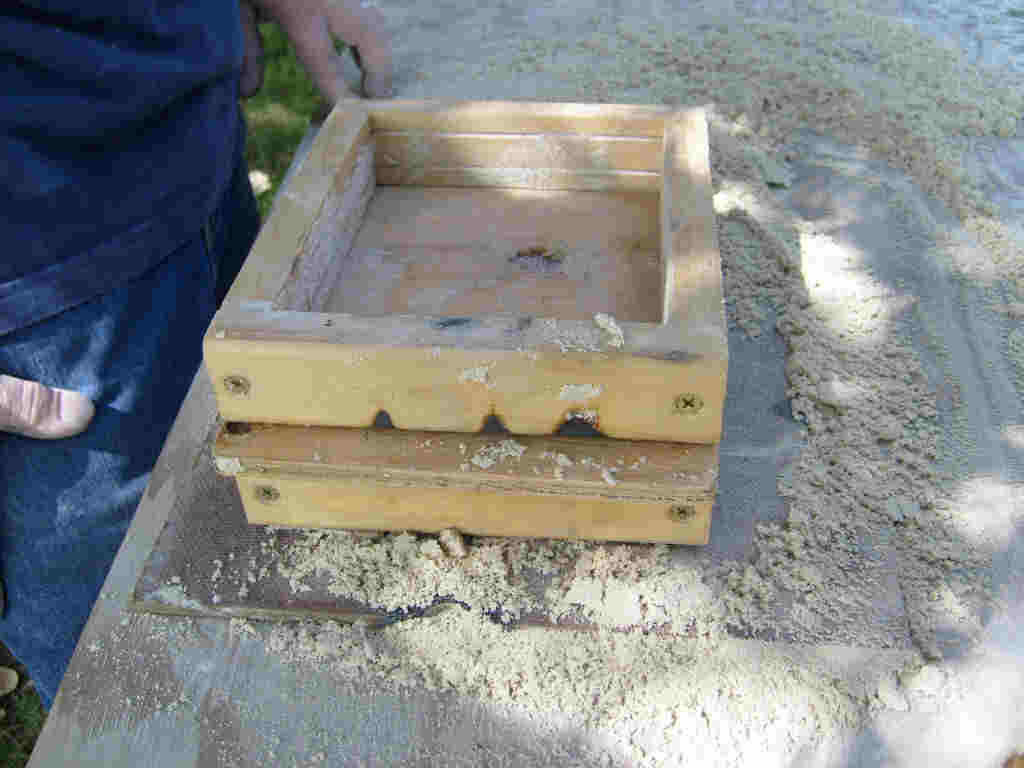
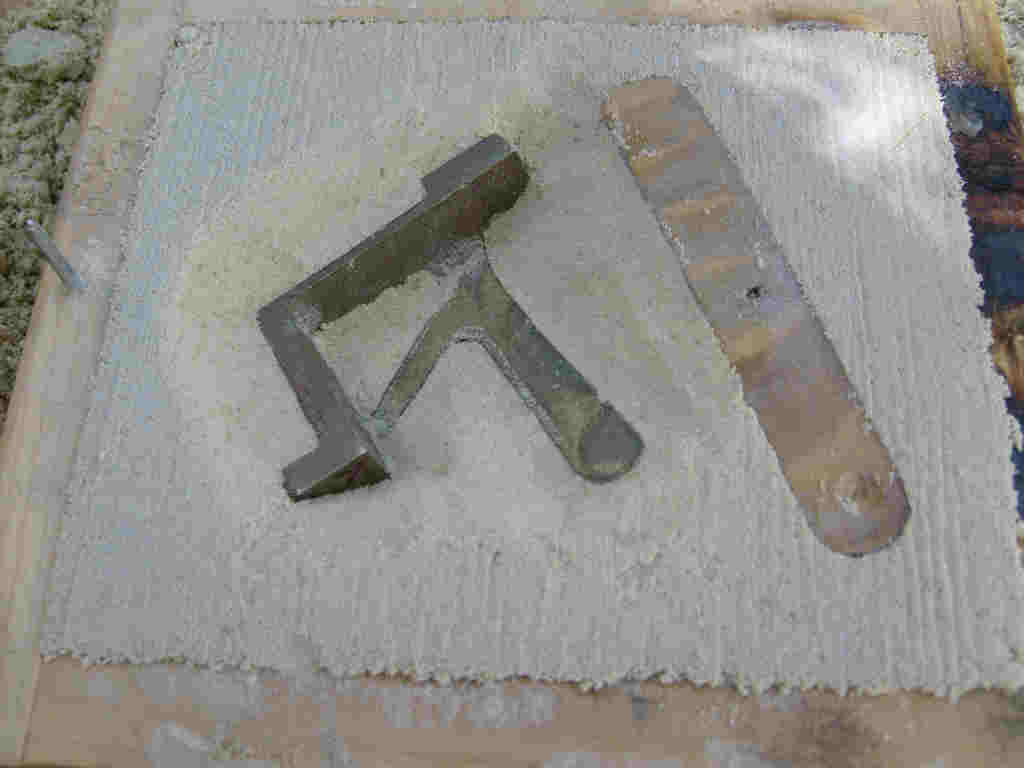
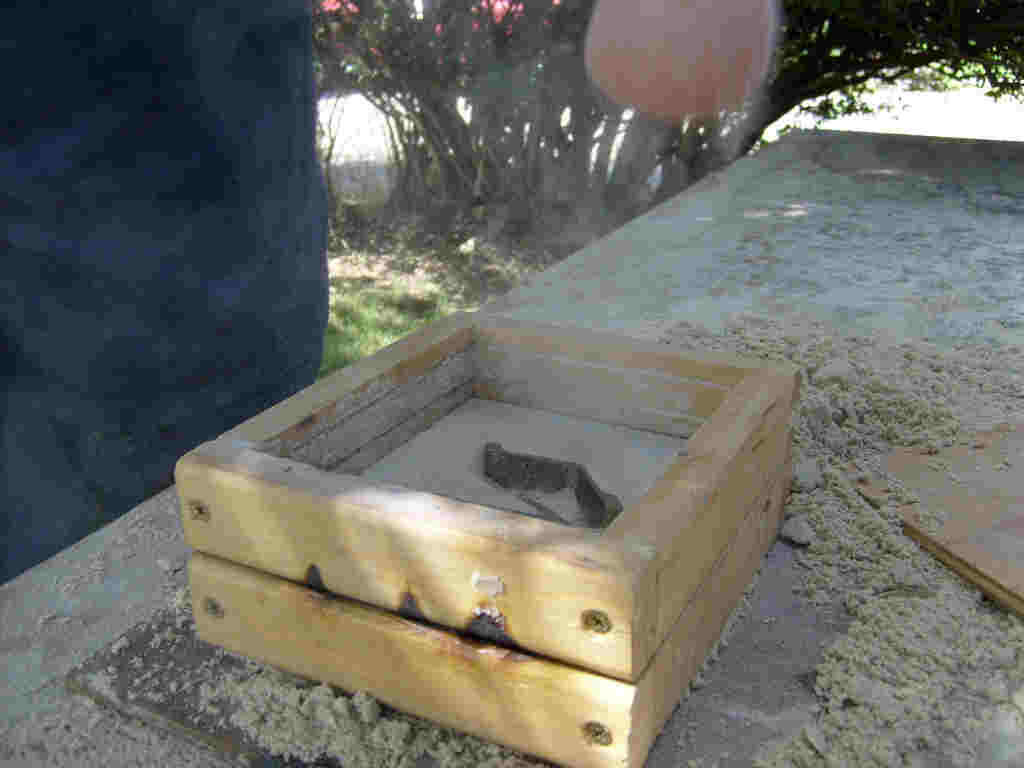
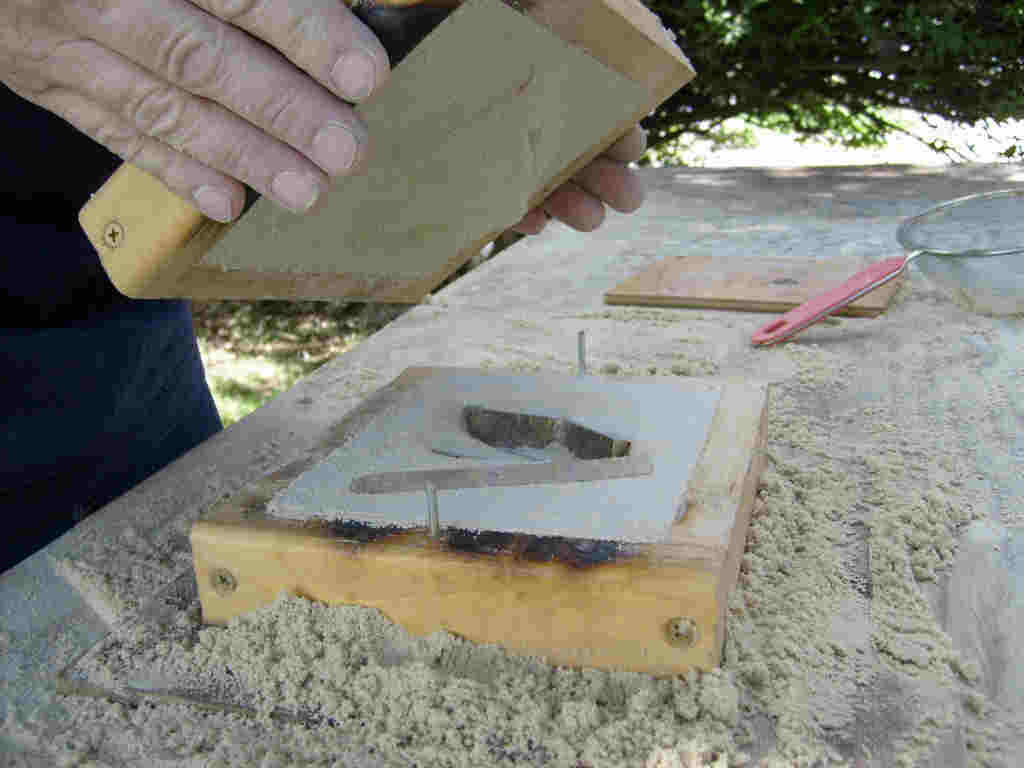
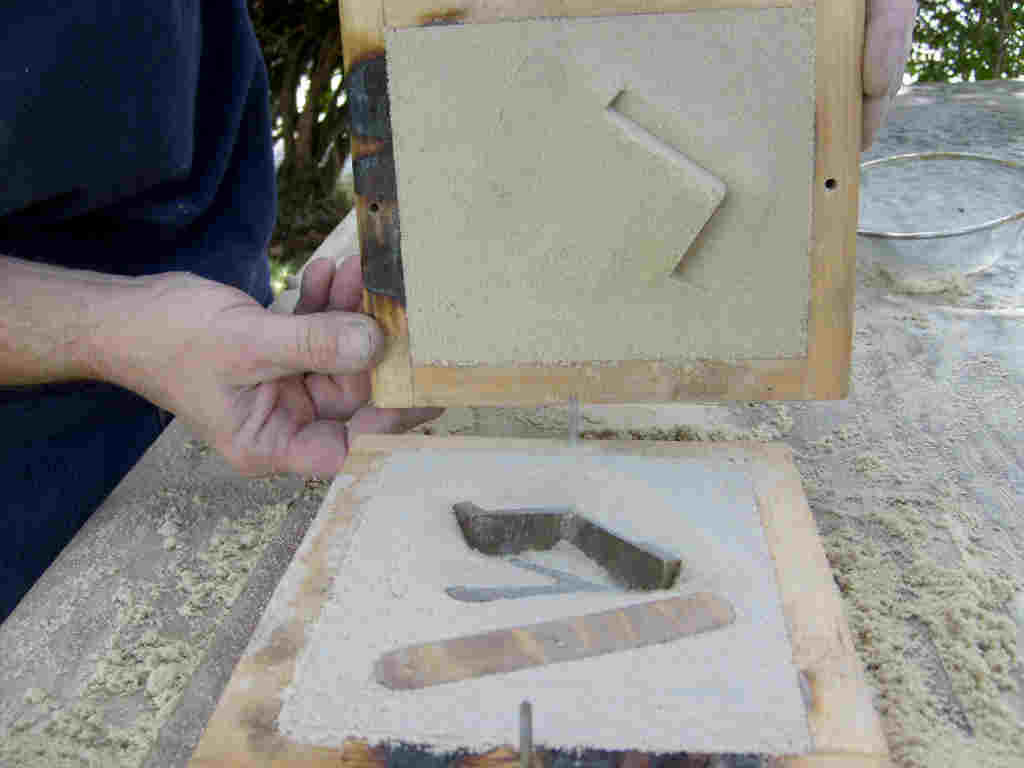
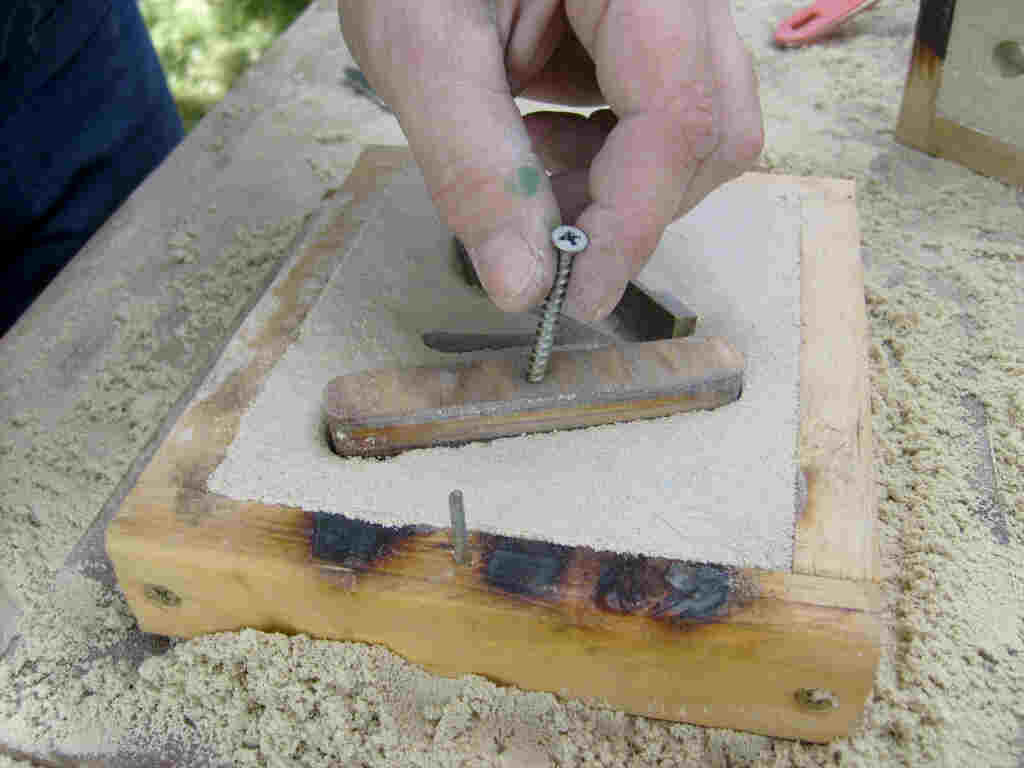
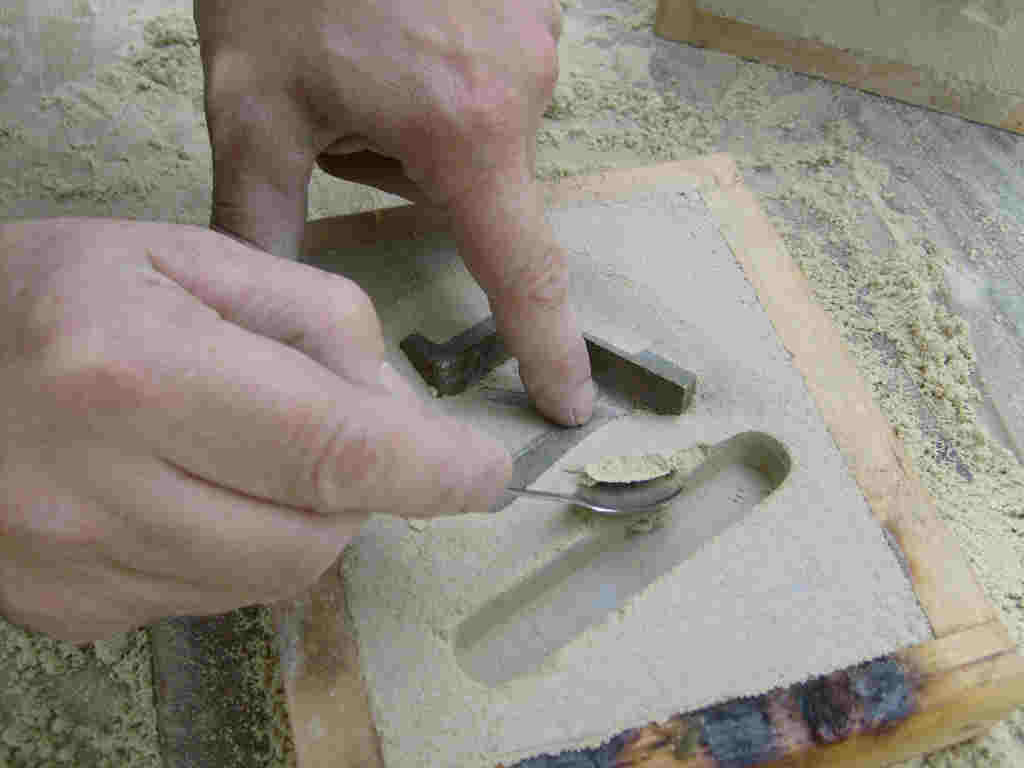
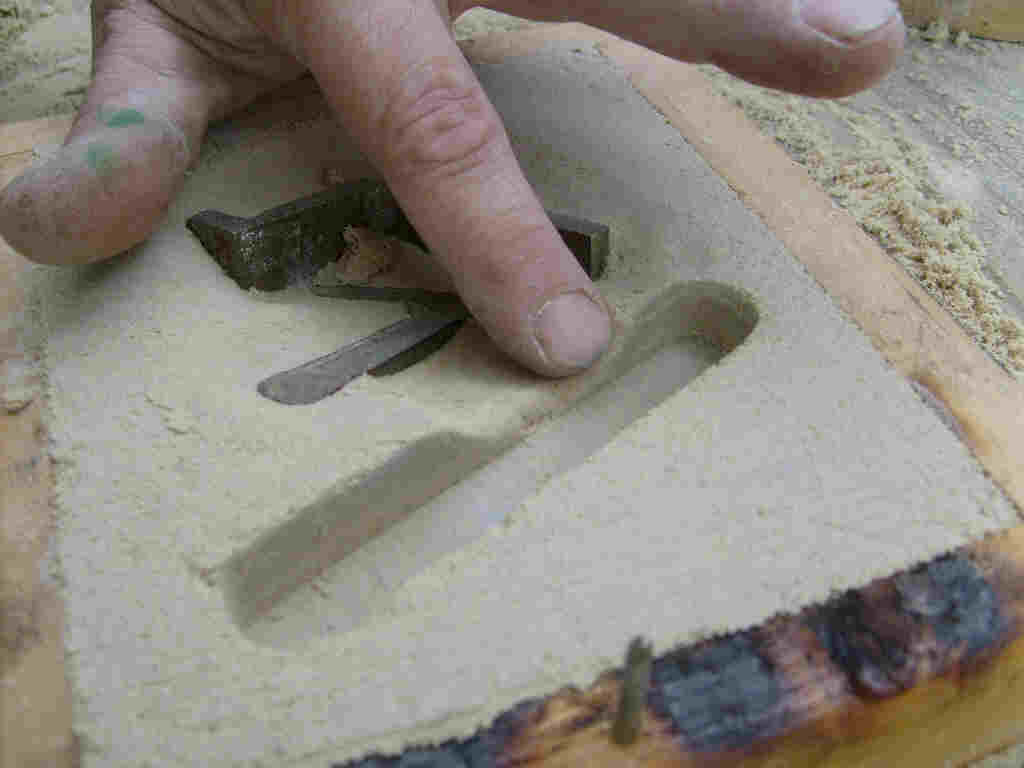
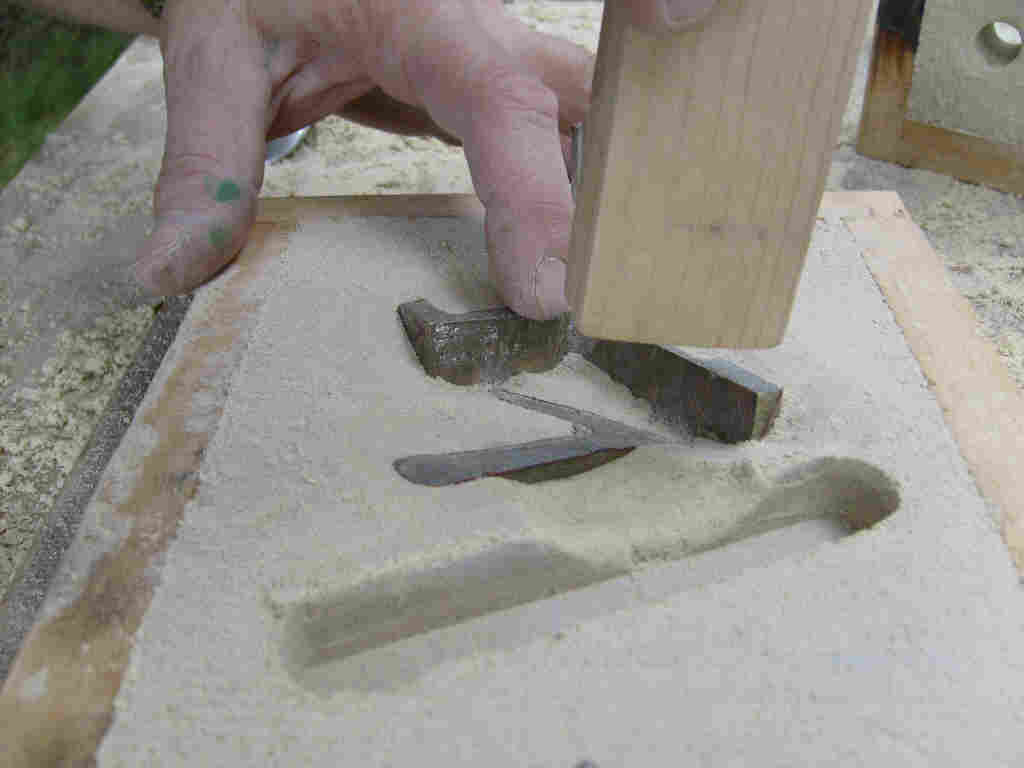
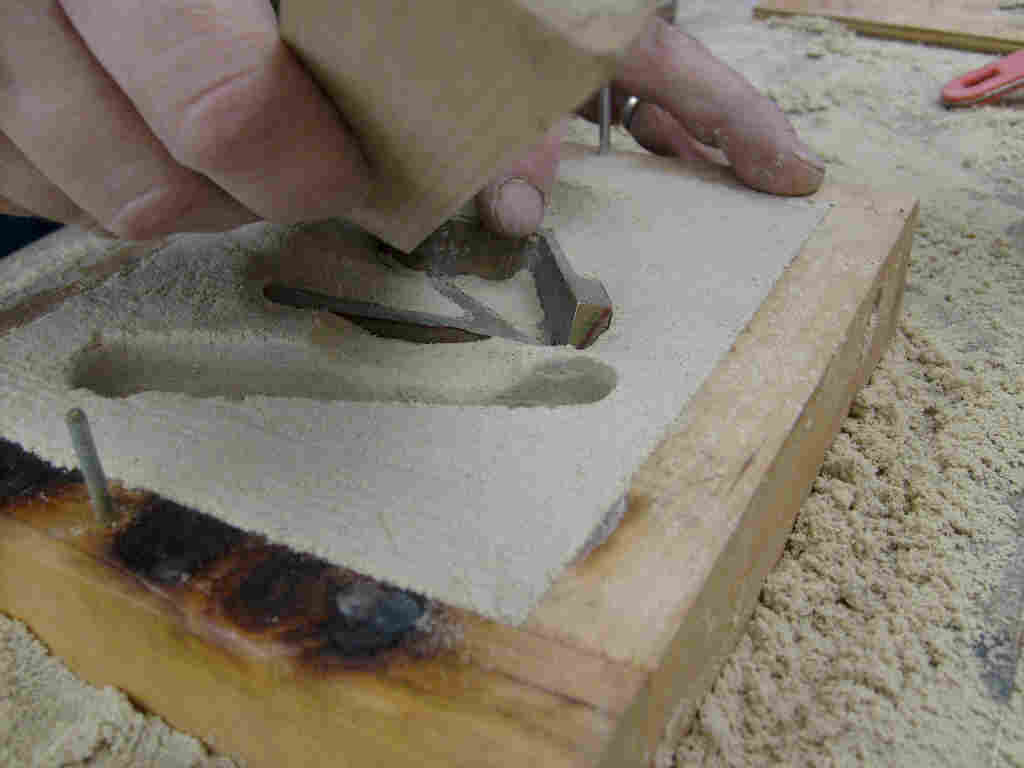
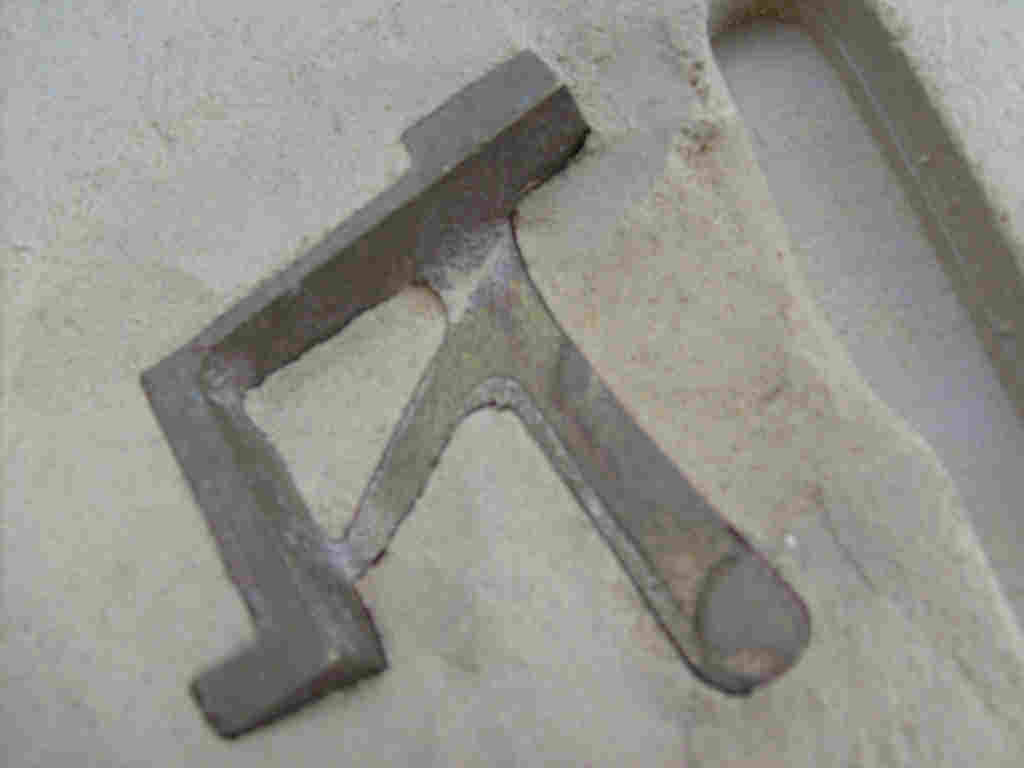
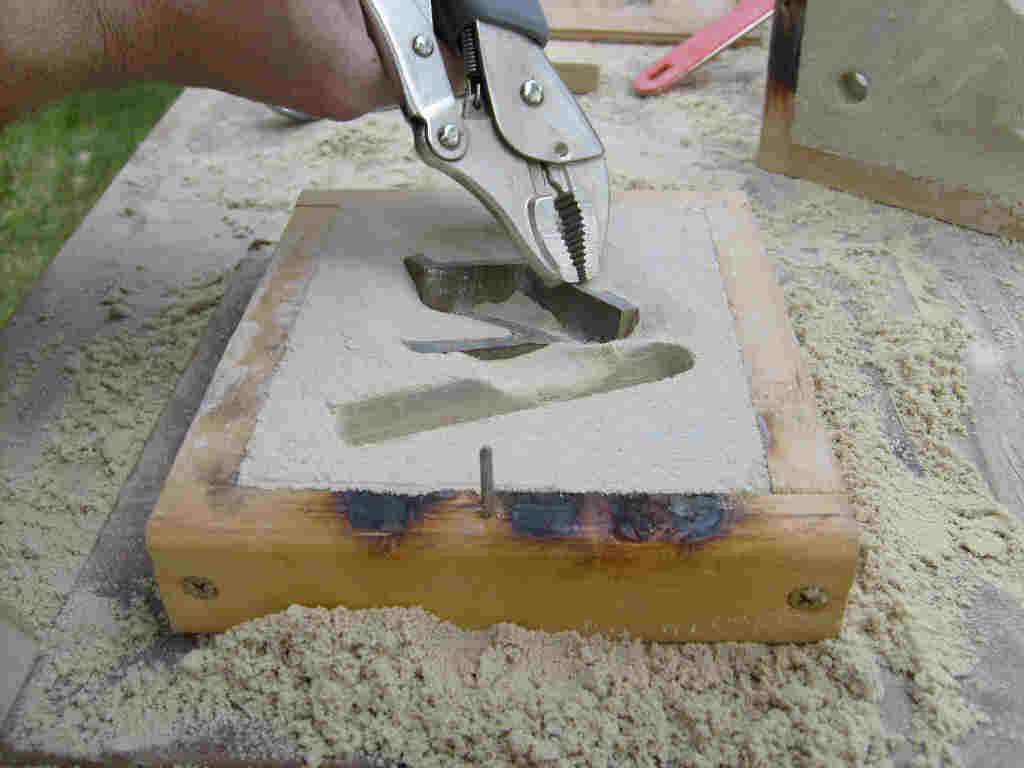
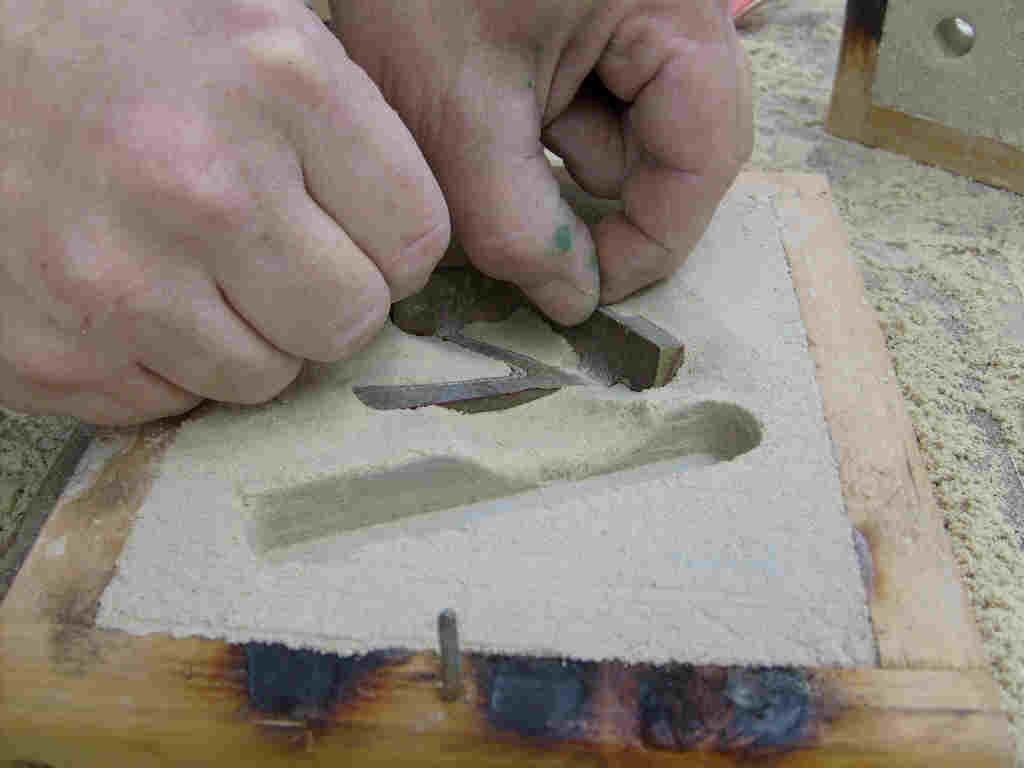
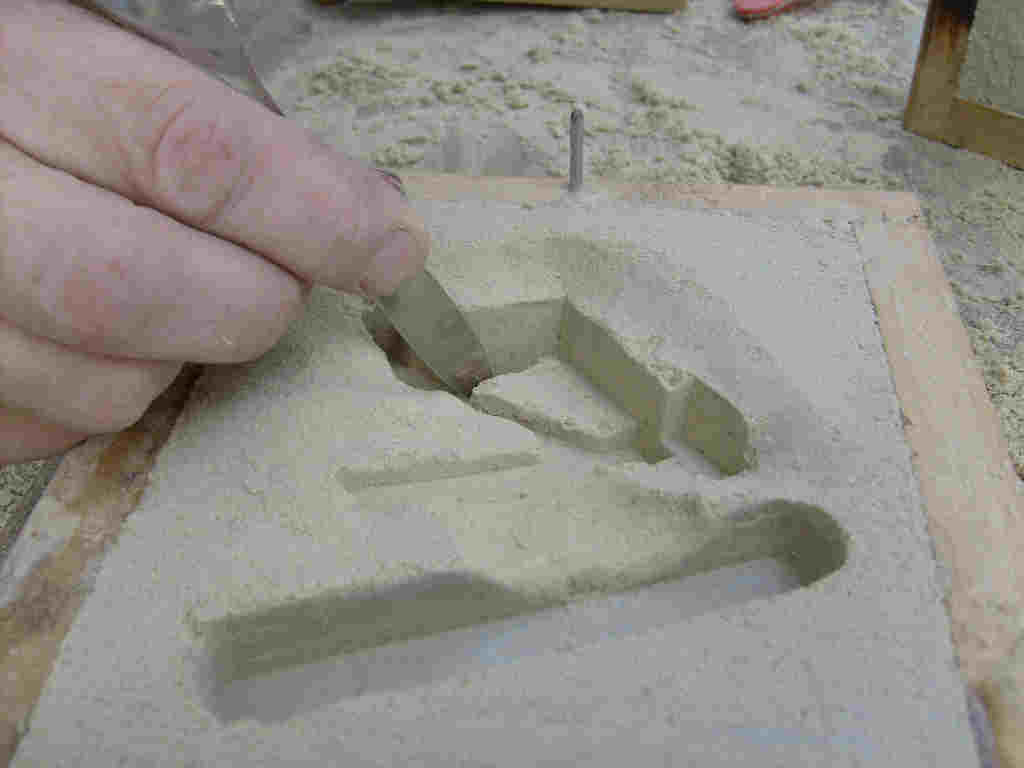
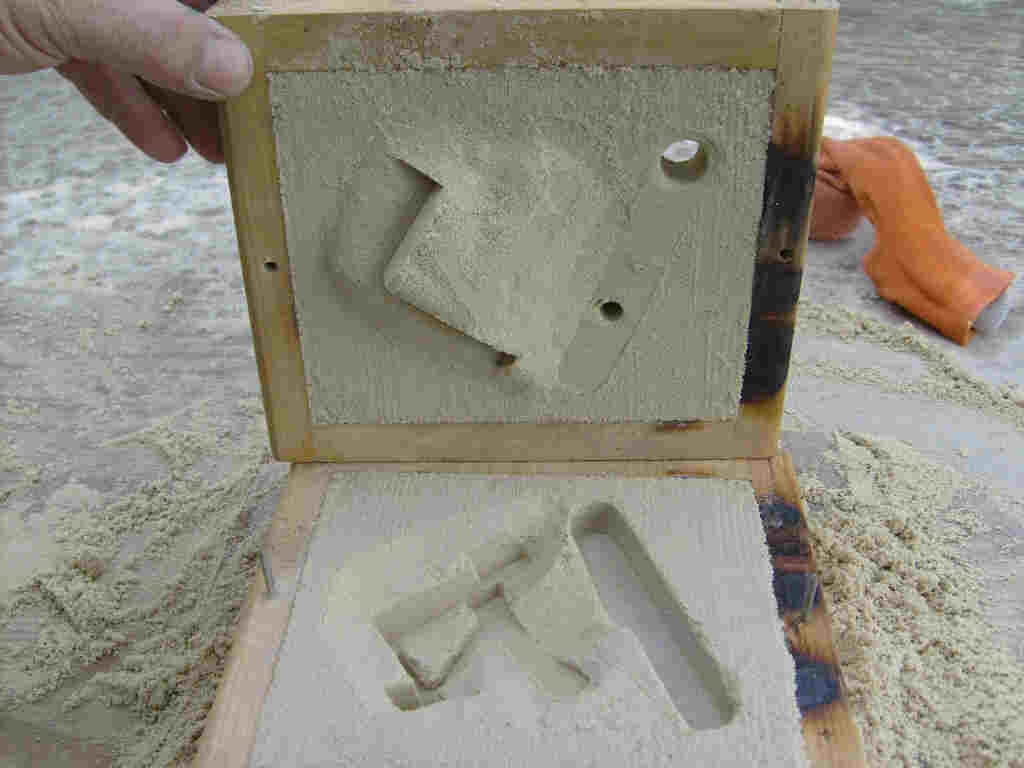
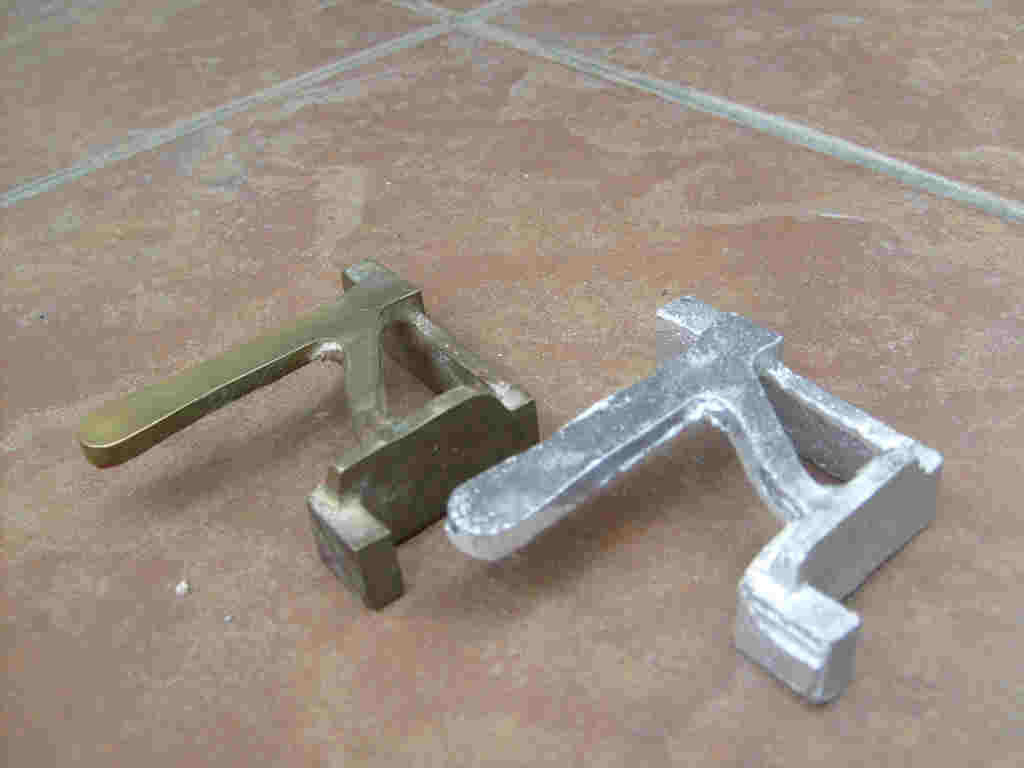
Note: if you were going to make a lot of these, you could pour plaster of paris into the mold now and make a plaster upset. A plaster upset would speed up molding by eliminating a step.Place cope (top) section of the flask back on the mold. Apply parting dust. Riddle (sieve) sand on the pattern. 1.Fill flask and ram tightly. 2. Strike off level and smooth with trowel. Remove cope by lifting straight up. Place cope standing up on it’s side. Tap runner pattern to loosen. Cut sprue hole and pop-up in the cope (top). Can you see the runner bar marked in the cope? Remove runner pattern with a screw. Hold tattoo pattern down with your finger. Cut gate from runner to pattern. Wide as you can, at least 1/8″ deep. Smooth rough areas of the gate with your finger. Loosen pattern by tapping with wood. Tap it gently on all sides to loosen evenly. Loose enough for a small gap to form. Remove the pattern with pliers. Or your fingers! See a crack? Push it back!Completed drag. Don’t worry about outside flashing, it can easily be removed with a sander or file. Replace cope the same way it came off. Place some type of weight on the mold to prevent leaking. Melt metal and pour. Dump mold into sand container. Do not let your sand dry out completely. Always keep sand in a sealed container to prevent drying. Casting from the drag side. Note the wide gate to allow the metal to flow into the mold as fast as possible. Cope side of the casting. Small amount of flashing. Special thanks to our production crew! Casting with pattern. Molding takes practice, you must practice.